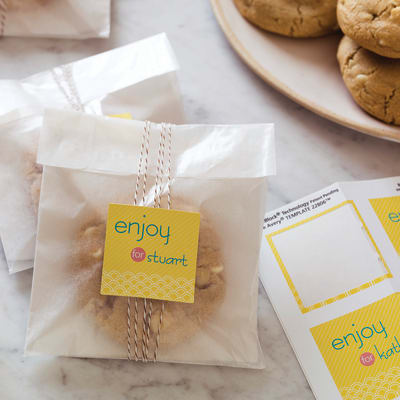
How to Create Personalized Stickers
Make stickers and seals to personalize your gifts with labels you can create your way on Avery Design & Print Online. Choose from a variety of free printable design templates to fit the event or occasion, customize the look and print your own labels right at your desk. Your personalized gifts and goodies are sure to be a hit whether you’re packaging wedding favors, birthday favors or classroom treats.
Step 1: Go to Avery Design & Print Online
Open the free Avery Design & Print Online software at avery.com/print. To start a new project, enter your Avery product number for your labels and click GO.
Step 2: Choose your design
Select your design theme from the menu on the left, and view the design(s) on the right. Or to use your own graphics, choose the blank template which is the first option displayed.
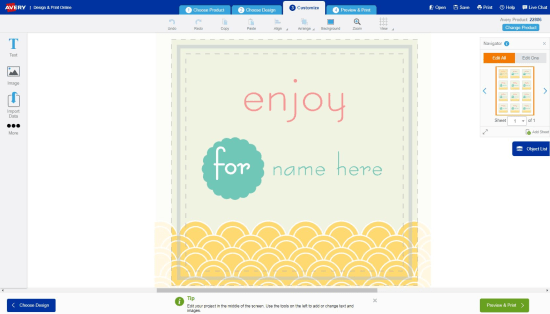
Step 3: Customize the design
Whether you choose a blank template or pre-designed template, you can personalize the content and make it your own. Rearrange the design if you wish, add a personal photo or graphic and enter your custom text.
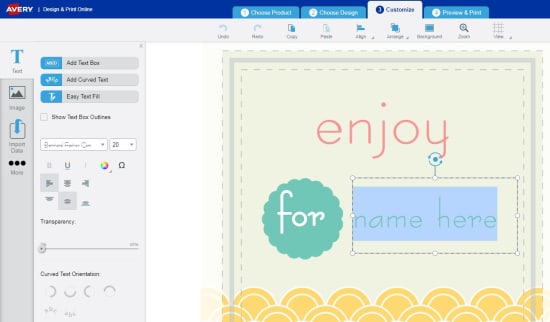
To change the existing graphic, click on the design to select it, and use the menu on the left to select another image from the Avery Gallery or from your own computer file.
To customize the text, click to select the text area and type in your text. Use the menu on the left to choose a different typeface, type size or color.
The next step will show you how to make changes to individual labels or all your labels on the entire sheet.
Step 4: Edit your design
The navigator on the right side of the screen makes it easy for you to make changes to one or all of your labels.
To apply changes to your label design for all the labels on the label sheet, click Edit All. To make changes to individual labels, click Edit One, and select the label you wish to change by highlighting it in the navigator.
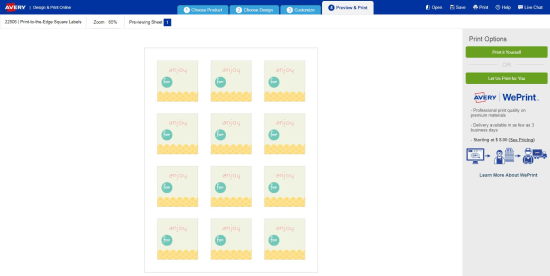
Step 5: Preview & print
Click Preview & Print to review your design. To make adjustments, just click the Customize button at the bottom of your screen to go back to the previous screen. When you’re finished, just click Print.
Step 6: Save
To save your design, click the Save button. In the pop-up window, create a file name and save to either “MyAccount” or your computer.